
How to Digitize the Black Ink Drawing with Organic Selections Using the Quick Mask

Preparing Your Inked Image
Scan or Photograph Your Inked Work:
Begin by digitizing your inked work using a scanner or camera, ensuring it's as flat and evenly lit as possible.
Open the Image in Photoshop:
Open your scanned or photographed ink in Photoshop.
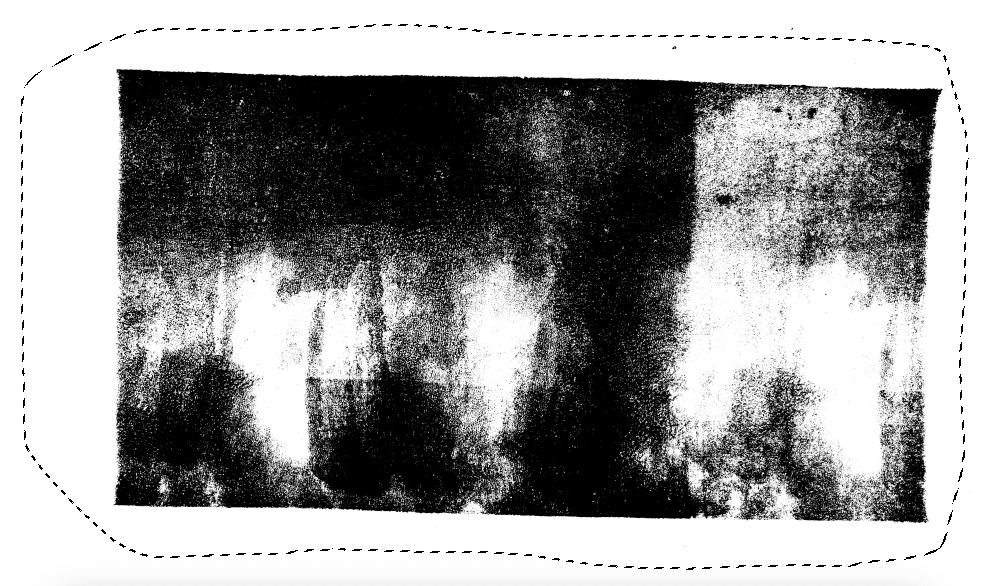
Adjust Levels or Contrast:
To increase the visibility/contrast of your inked lines, adjust the image’s levels (
Image>Adjustments>Levels) or contrast (Image>Adjustments>Brightness/Contrast) to make the ink stand out more from the background.You want to make the background paper appear almost purely white. You can use the White Eyedropper tool, and click on the image's background to tell Photoshop, that it is your white color point. This may result in losing some of the greys, so definitely spend some time to adjust your levels to find an ideal balance, This will help you to have a cleaner selection later on.

use the Levels in Adobe Photoshop to Increase the Contrast, then use the White Eyedropper to set the Background color as the white point
Copying the Selection
With the artwork layer selected:
Lasso-select (or Press L) the motif/shape. As you can see, the selection is far from precise. This is completely ok, since we are just digitizing black ink
Copy the selection: Cmd/Ctrl + C
Deselect by Pressing Cmd/Ctrl + D
This is esp. important if you are working on the same document, instead of creating a new one
Rough Lasso selection of the Marks will suffice
Finalizing the Digitization
Create a New Layer, or A New Document, and Enter Quick Mask Mode by Pressing Q
Note the layer will have a red overlay to indicate the Quick Mask Activation
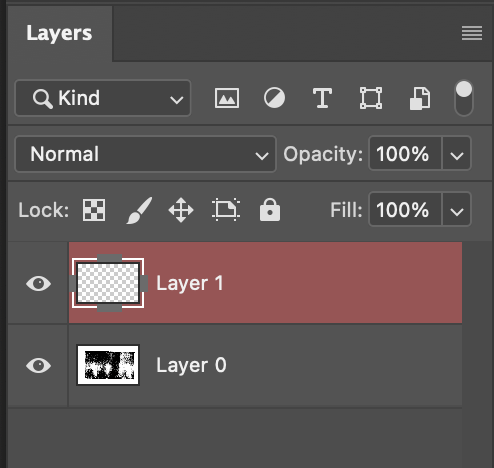
New Layer with Quick Mask Activated
Paste the Selection: Cmd/Ctrl + V
Things may appear weird (see below), but keep calm.

Exit the Quick Mask Mode by Pressing Q
By default, you will find the opposite of the ink marks selected. All you need to do is to invert the selection, again, keep calm

Invert the Selection: Cmd/Ctrl + Shift + I (see below)
Now only the ink marks are selected, with all the beautiful texture captured
Press D to reset your Foreground Color to Black
Press Option + Delete to Fill Selection with Foreground Color (Black)

Now your Black Ink marks, even the greys (that you thought you had to sacrifice) are beautifully isolated in a brand new layer of their own
As always, Save Your Work:
Save your digitized ink in the desired format (
File>Save As).

About Esther Nariyoshi
Hi, I am an illustrator who loves exploring both traditional and digital mediums. I've had the joy of collaborating with some wonderful folks, like Cloud9 Fabrics, and MSU Broad Art Museum, and sharing some tidbits of my creative process through UPPERCASE Magazine. My heart finds joy in food and nature illustrations, and occasionally, I share my creative process on my YouTube Channel. If you love art or need inspiration, join me on Skillshare or YouTube tutorials.

Skip hours of sifting through generalized tutorials, and enjoy a personalized learning session with a laser focus. In a 1-on-1 session, you will receive personalized instruction on how to elevate your digital illustration to the next level based on your own artistic style and preference using Procreate, Adobe Illustrator, and Photoshop, as well as your paper sketchbook.


Premium Digital Brushes for Artists: Created by an Illustrator, for Illustrators. These expertly crafted digital brushes are designed to enhance your artistic workflow in digital illustration.

Free Procreate Brushes Free Adobe Illustrator Brushes as well as other helpful resources to get you started in digital Illustration
Next Steps

Beginner friendly classes on Adobe Illustrator