
How to Draw Flowers in Adobe Illustrator: An In-depth Guide
Hello there! I'm Esther Nariyoshi, and today, we'll be diving into an exciting tutorial on how to craft beautiful flowers in Adobe Illustrator. If you've ever felt like blooming your digital garden with these delightful designs, this guide is your ticket to becoming an Illustrator botanical pro!
Step-by-Step Tutorial
1. Setting the Stage:
Firstly, if you have any existing flowers or shapes, select them all.
Use the shortcut
Eto activate the Free Transform Tool.While resizing, hold
Shiftto ensure that they're resized proportionally, giving you ample space to craft your new flower.
2. Crafting the Petals:
Select the Rectangle Tool from the toolbar. But wait! Instead of a simple click, click and hold to reveal the flyout menu.
From this menu, opt for the Polygon Tool. This tool allows you to craft polygons beyond just rectangles. As a tip: You can hold the up and down arrows to adjust the number of sides. For our flower, let’s settle with seven sides.
Release to place your seven-sided polygon on the canvas.
3. Choosing Your Color:
If your polygon color isn’t to your liking (mine was a bit dreadful), press
Ifor the Eyedropper Tool. This lets you pick a color from existing objects. I chose white for this flower.Adjust the position of the polygon as needed.
4. Molding the Petals:
Head over to
Effecton the top menu bar, thenDistort and Transform, and selectPucker and Bloat.This will pop up a slider menu. Ensure 'Preview' is toggled on to view changes in real time. Sliding towards 'Bloat' will give our polygon those soft, curved petals of a flower. If you slide towards 'Pucker', it’ll look spikier. Since we're on a floral mission, aim for a gentle curve that pleases your eye.
5. Crafting the Flower Center:
Press
Lto activate the Ellipse Tool.Draw a circle holding
Shiftbefore releasing your mouse (this guarantees a perfect circle). Choose a contrasting color for it.To ensure your circle (flower center) and petals align perfectly, select both shapes and use the Align Tool. Ensure it's set to 'Align to Selection', then horizontally and vertically align them to the center.
6. Finalizing Your Flower:
You might notice your flower's outline doesn't quite look as expected. This is because Illustrator views it as an effect, not a shape. Open your
Windowmenu and selectAppearance. You'll see the 'Pucker and Bloat' effect at the top.You can double-click this effect and adjust it using the slider until satisfied. Remember, while it's an effect, you can still play around with it.
When you're happy, head to
Objectand selectExpand Appearance. This action solidifies the effect into a shape, making it easier to fine-tune details and saves file space, but remember: it’s no longer a live effect.
And there you have it! A beautiful, digital flower crafted in Adobe Illustrator.
Closing Thoughts: I hope you found this tutorial enriching! If you appreciate guides like this, consider subscribing to my Youtube Channel. For those keen on mastering Illustrator or even diving into iPad Procreate, I offer in-depth classes on Skillshare. Grab the 1-month free trial link in the description below and explore the world of design and illustration with me.
Until our next artistic adventure, thanks for joining in!

About the Author
Hi, I am an illustrator who loves exploring both traditional and digital mediums. I've had the joy of collaborating with some wonderful folks, like Cloud9 Fabrics, and MSU Broad Art Museum, and sharing some tidbits of my creative process through UPPERCASE Magazine. My heart finds joy in food and nature illustrations, and occasionally, I share my creative process on my YouTube Channel. If you love art or need inspiration, join me on Skillshare or YouTube tutorials.

Skip hours of sifting through generalized tutorials, and enjoy a personalized learning session with a laser focus. In a 1-on-1 session, you will receive personalized instruction on how to elevate your digital illustration to the next level based on your own artistic style and preference using Procreate, Adobe Illustrator, and Photoshop, as well as your paper sketchbook.


Premium Digital Brushes for Artists: Created by an Illustrator, for Illustrators. These expertly crafted digital brushes are designed to enhance your artistic workflow, offering precision, versatility, and exceptional quality tailored specifically for digital illustration.

Free Procreate Brushes Free Adobe Illustrator Brushes as well as other helpful resources to get you started in digital Illustration
Resources and Next Steps
If you want to keep the learning momentum going, I have several other resources to recommend.
On-demand Skillshare Classes
Beginner friendly classes on Adobe Illustrator by Esther Nariyoshi
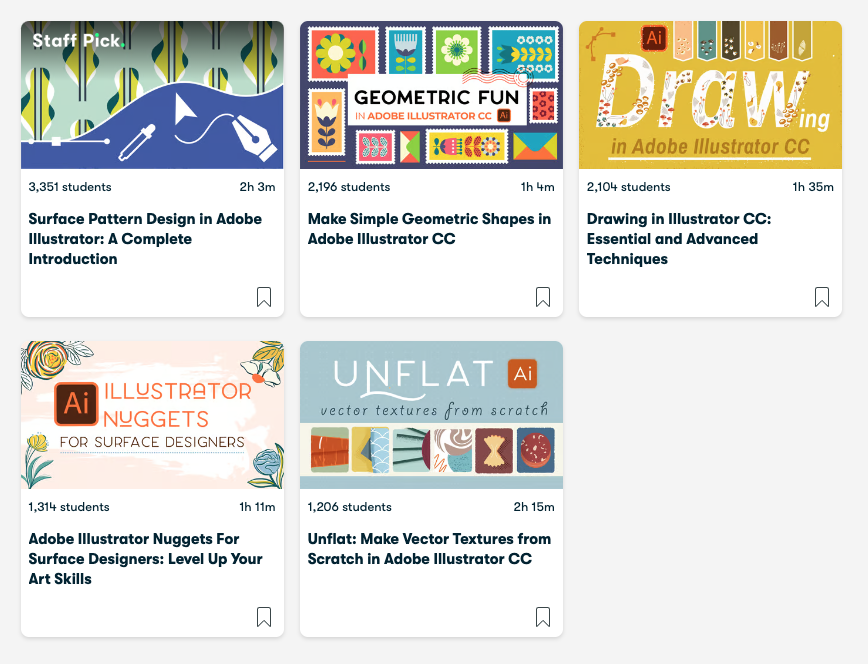
Esther offers 20+ classes on digital illustration with nearly 1 million watched minutes among 25,000+ students. Join the Skillshare community with this one-month-for-free link. If you like what you learned from this post, you will probably love following along with Make Geometric Shapes in Adobe Illustrator CC Class on Skillshare. For starters.
Related Articles
Adobe Illustrator For Beginners: How to Draw and Edit Basic Shapes
Tutorials on Youtube
Esther also shares her design process on Youtube. For example, this post was adapted mainly from my original video tutorial: Make Simple Shapes in Adobe Illustrator for Beginners | Quick Snack Series Season 1 EP1. At the time of writing, two full seasons are available to help you get started in Adobe Illustrator.
What's the difference between Pathfinder, Shape Builder, and Reshaper Tool in Adobe Illustrator?
You are in luck, I have made a lesson just for that! This lesson is a portion of my Skillshare class Adobe Illustrator Nuggets For Surface Designers: Level Up Your Art Skills (-> grab this link to get a 30-day free trial)